How to Increase Disk Space for Your PBN or WordPress Blog
If your blog is running out of storage, you can easily increase its disk space using the Disk Space Addon. Follow the steps below to add more storage to your PBN or WordPress blog.
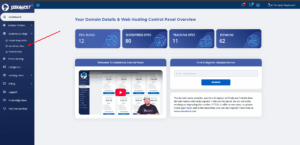
1. Open Your PBN or WordPress Service
Log in to your dashboard and navigate to the PBN or WordPress section where your blog is hosted.
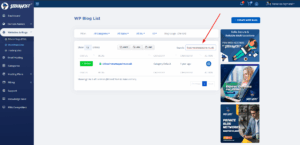
2. Locate Your Blog
Find the blog you want to upgrade in the table list, then click the gear (⚙️) icon next to it to open the settings.
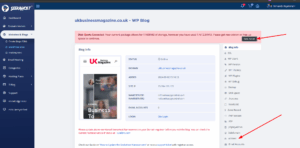
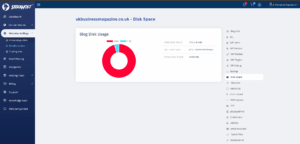
3. Check Current Disk Usage
If your blog has already exceeded its disk limit, you’ll see a notification.
Otherwise, switch to the Addon tab to continue.
4. Purchase the Disk Space Addon
Click the “Get Now” button and confirm the popup to add extra disk space to your blog.
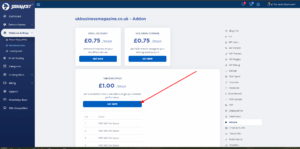
5. Verify the Upgrade
Once completed, an additional 1GB of disk space will be added.
You can verify this by going to the Disk Space tab and checking the updated quota.
Billing Information
The Disk Space Addon is included with your subscription and will be charged recursively (recurring) along with your main subscription.